Cleaning Coins - Electrolysis
Following are some tips from GomMetalDetecting.com:
NOTE: DO NOT CLEAN COINS THAT YOU SUSPECT ARE VALUABLE!
It will cut their value in half! Ask a local coin dealer first.
Disclaimer: You're doing this at your own risk. We will not be held responsible for any damage in case you burn your house down or any injuries caused by this project.
Steps to clean coins by Electrolysis
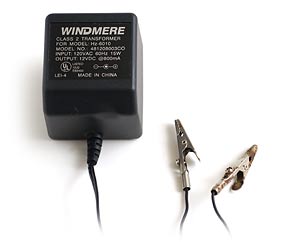 The first thing you need to get is an 9, 12 or 18 volt AC/DC adapter from an old phone, transistor radio, or something like that. The higher the voltage the better.
We found an 18 volt adapter at a thrift store for two dollars. Maybe you have one laying around in a drawer in your house somewhere.
Cut off the small plug at the other end of your adapter, and separate the wires. Strip the ends and attach an alligator clip to each wire with the screws that are supplied.
You can find alligator clips at a local hardware store or WALMART.
Don't buy the copper colored ones!!!
|
|
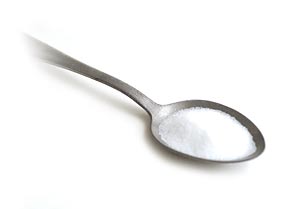
Find a stainless steel spoon, a glass cup, some salt, and you are almost ready to roll!
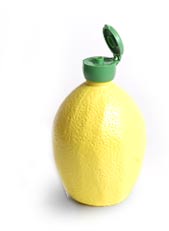
For better conductivity of the water you could add several drops of lemon juice concentrate, but if you don't have it around don't worry, it will still work! |
 |
Now you will have to figure out which clip has the positive and the negative wires. The negative goes to the coin and the positive to the spoon. Put the stainless steel spoon in the glass and attach one of the alligator clips to it and attach the other clip to the coin. Plug the adapter into the wall outlet and submerge the coin in the salty solution so it's completely covered without touching the spoon. After finding the negative wire, I put a knot on it so I know it goes to the coin. If all is well the coin will start fizzling and bubbling within a few seconds. Make sure the alligator clip is touching the bare metal on the coin. You may have to remove a little of the corrosion to get to the bare metal. |
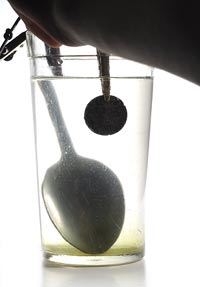 |
| In a couple of minutes it should look like a small cloud of dirt is forming around the coin. After a few minutes the cloud will get bigger and it will start smelling not so good, so keep your window open. |
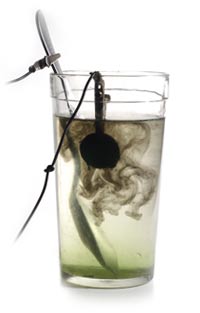 |
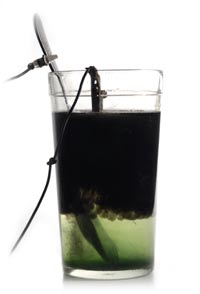 |
Usually it takes about five minutes to clean up a coin. But it won't hurt to occasionally lift it out of the solution to check how it's doing. After five minutes it should look something like this. Lots of black gunk floating on top. |
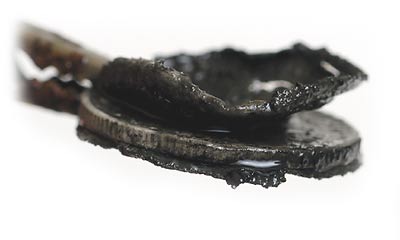
| Here's what our coin looks like after pulling it out. I didn't disturb it while it was "cooking" so you could see better how the corrosion is just peeling off the coin. It looked pretty horrible before we started. To stop the reaction get some baking soda and while rinsing your coin under a faucet, use an old toothbrush and rub some of the baking soda on it. I usually use my fingers, which works good also, but the black will stain your fingers. After cleaning this coin up I was surprised to see many details including the date on this Standing Liberty quarter. |
 |


